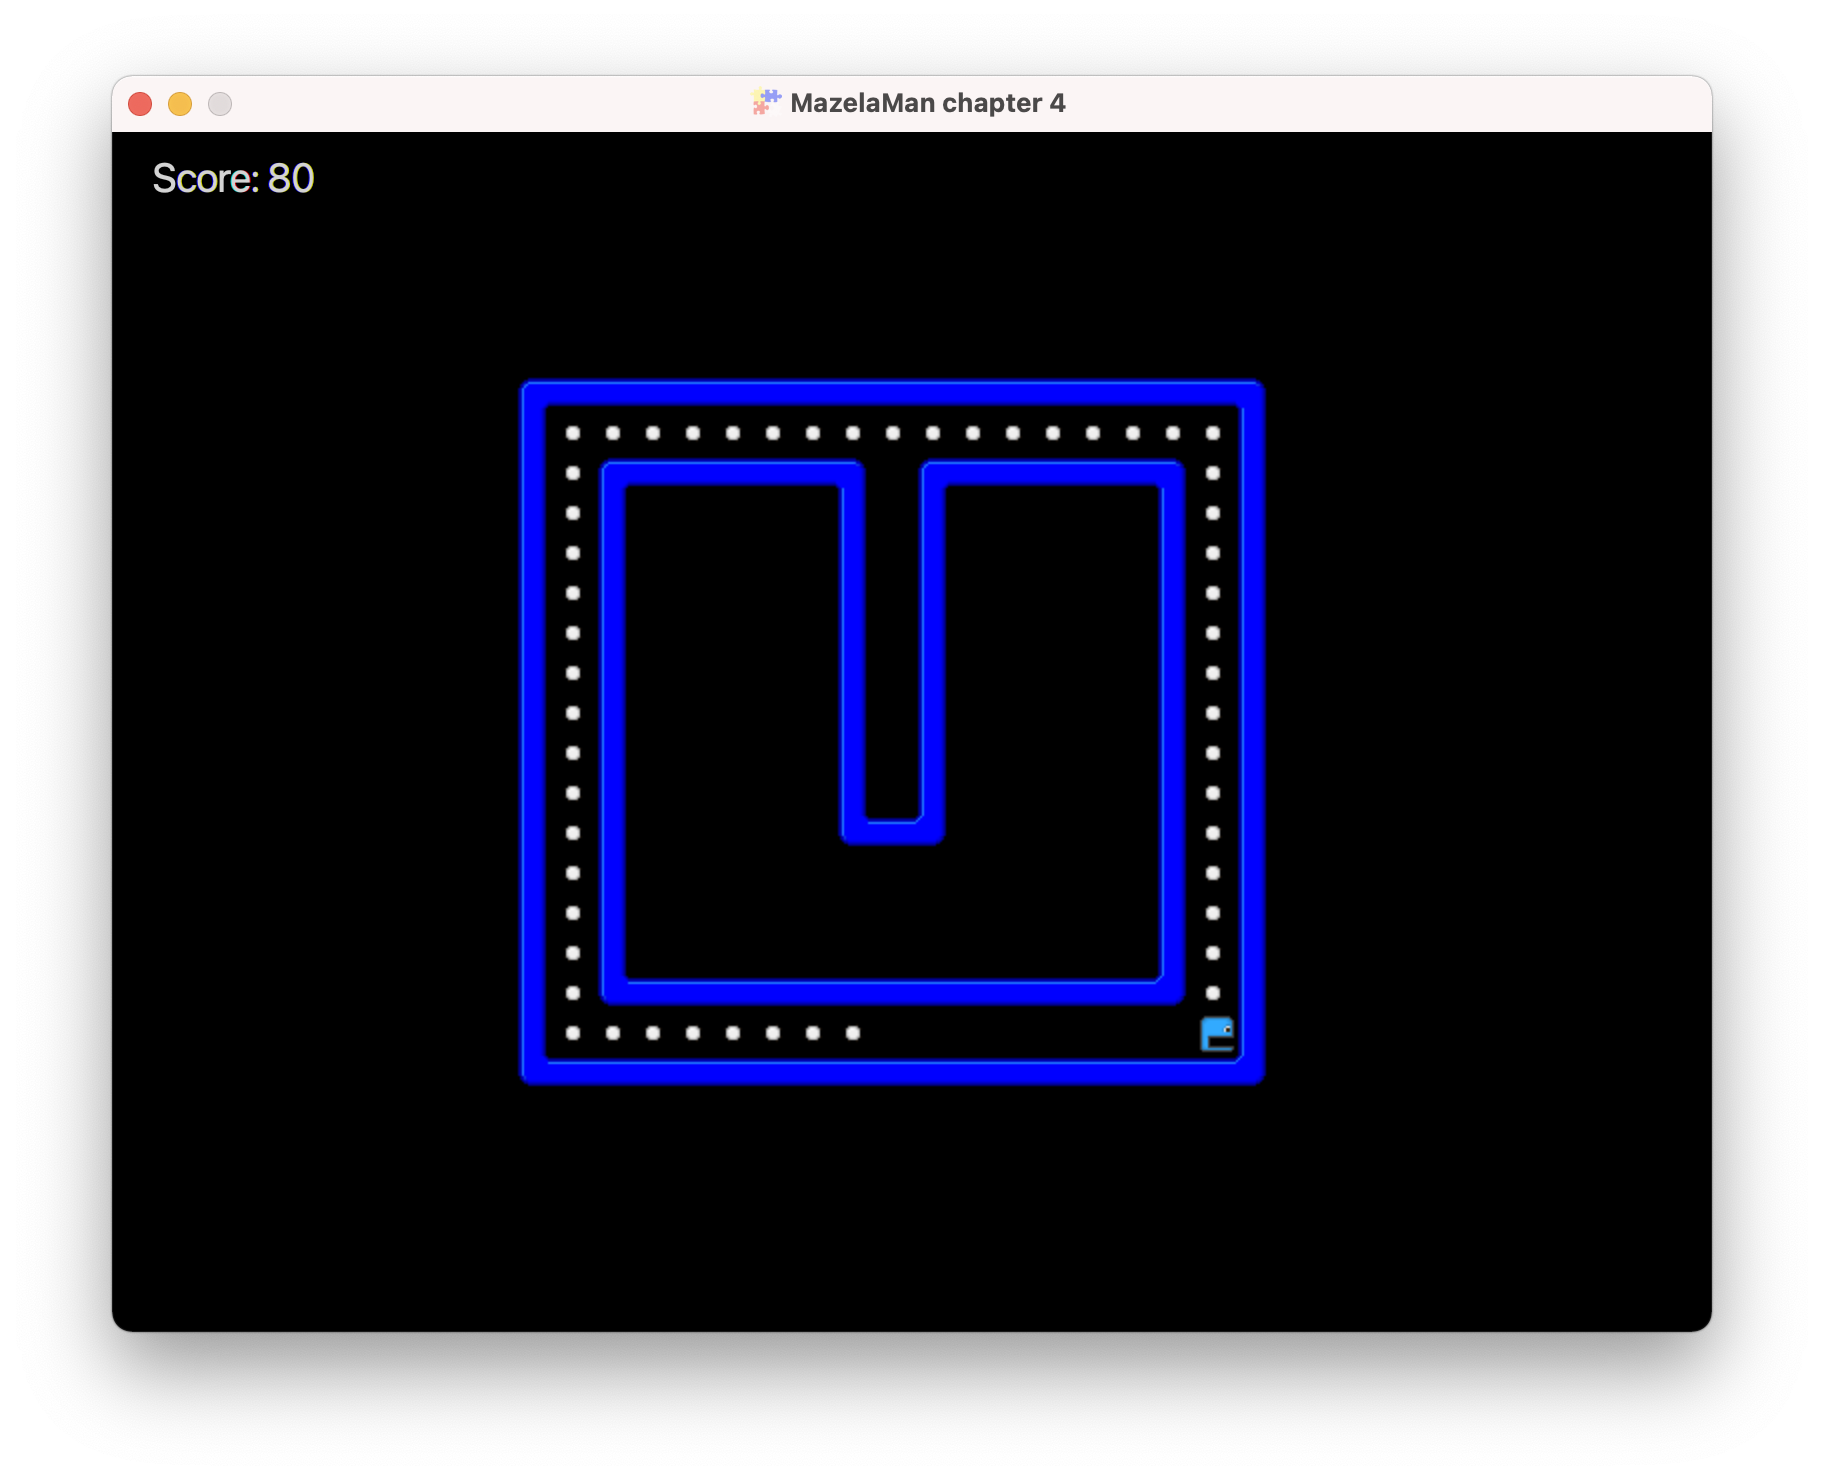
04. Animation
We are now going to animate our player character when it moves around the maze. To keep the animation code in one place, we begin by creating a custom component for the player.
PlayerComponent
Custom components in FXGL inherit from the class Component. Make sure to import the
Component class from FXGL, and not from AWT.
public class PlayerComponent extends Component {
    ...
}
We add it to the player entity the same way as other components in the entity factory. Note
that we no longer add a view with a bounding box to the entity. We only add the bounding box.
That is because the PlayerComponent will take care of the view.
    @Spawns("Player")
    public Entity spawnPlayer(SpawnData data) {
        ...
        return FXGL.entityBuilder(data)
                .type(EntityType.PLAYER)
                .bbox(new HitBox(BoundingShape.box(20, 20)))
                .with(physics)
                .with(new PlayerComponent())
                .collidable()
                .build();
    }
Before we can do any animation, we must create sprite sheets to base the animation on. Our player character will be animated differently depending on the direction, so we need several sprite sheets. These are the sprite sheets we will use:


You can copy them from here to the textures folder.
AnimatedTexture
An animated view in FXGL is provided by an AnimatedTexture. The AnimatedTexture performs
the animation by playing an AnimationChannel that provides the data for one animation
cycle. You can at any moment change the animation channel that is played by the animated
texture, and thereby change the animation.
For the player animation, we need one animated texture, and three animation channels, one for each sprite sheet.
    private final AnimatedTexture texture;

    private final AnimationChannel left;
    private final AnimationChannel right;
    private final AnimationChannel upDown;
In the `PlayerComponent constructor we create these objects.
    left = new AnimationChannel(FXGL.image("player-left.png"), Duration.seconds(0.5), 6);
    right = new AnimationChannel(FXGL.image("player-right.png"), Duration.seconds(0.5), 6);
    upDown = new AnimationChannel(FXGL.image("player-up-down.png"), Duration.seconds(0.5), 6);
    texture = new AnimatedTexture(upDown);
Each animation channel is created with its sprite sheet image, a value that specifies the
duration of a single animation cycle, and the number of frames in an animation cycle. The
animation channel automatically splits the sprite sheet into frame images based on the
number of frames specified. So our sprite sheets will be split into six images each. There
are other constructors in the AnimationChannel class. You can for example specify the frame
images as a list of separate images instead of a sprite sheet. You can also specify the first
and last image to use, if you have a bigger sprite sheet, where not all images should be used.
The animated texture is created with its default animation channel. This channel will be
played if you later call the play method without specifying a new channel. The texture has
not yet been attached as a view to the entity. That is because the entity has not yet been
created. We attach the texture to the view when the PlayerComponent is later added to the
entity.
    @Override
    public void onAdded() {
        entity.getViewComponent().addChild(texture);
        texture.loopAnimationChannel(upDown);
    }
This code gets the view component of the entity, and adds the animated texture as a child
to it. It also starts playing the upDown animation in a loop. If you want to play an
animation only once, there are play methods that you can use instead.
The Component class also has other callback methods that you can override. The method
onRemoved is called right before the component is removed from the entity, and the
method onUpdate is called each frame during game play
If you run the app now, you’ll see that although the player is animated, the same animation
cycle is played all the time. We need to add some more code to change animation according to
direction. Let’s add methods for changing direction to the PlayerComponent. The left
method looks like this.
    public void left() {
        if (texture.getAnimationChannel() != left) {
            texture.loopAnimationChannel(left);
        }
    }
If the animation channel is not already equal to left, we make it so. Why the if statement?
Can’t we just always set it to left in the left method? No, because that would cause the
animation to restart every time we call this method. So if the user keeps pressing the A key,
there would be no animation, just the first frame over and over.
We can add the corresponding methods for the other directions.
    public void right() {
        if (texture.getAnimationChannel() != right) {
            texture.loopAnimationChannel(right);
        }
    }

    public void up() {
        if (texture.getAnimationChannel() != upDown) {
            texture.loopAnimationChannel(upDown);
        }
    }

    public void down() {
        if (texture.getAnimationChannel() != upDown) {
            texture.loopAnimationChannel(upDown);
        }
    }
Of course, nothing at all will happen if we don’t call these new methods. We need to call
them from the input handlers. The input handler for the A key will now look like:
    FXGL.onKey(KeyCode.A, "Move Left", () -> {
        getPlayer().getComponent(PhysicsComponent.class).setVelocityX(-SPEED);
        getPlayer().getComponent(PlayerComponent.class).left();
    });
We get the PlayerComponent from the player entity and call the left method.
Now we are done! The animation works as expected. However, since we now have a
PlayerComponent, we can refactor our code and move more of the player related code into the
PlayerComponent. We already have methods called left, right, up, and down in the
PlayerComponent. Let’s move the actual moving of the entity into these methods as well.
    private PhysicsComponent physics;

    public void left() {
        physics.setVelocityX(-SPEED);
        if (texture.getAnimationChannel() != left) {
            texture.loopAnimationChannel(left);
        }
    }

    public void right() {
        physics.setVelocityX(SPEED);
        if (texture.getAnimationChannel() != right) {
            texture.loopAnimationChannel(right);
        }
    }

    public void up() {
        physics.setVelocityY(-SPEED);
        if (texture.getAnimationChannel() != upDown) {
            texture.loopAnimationChannel(upDown);
        }
    }

    public void down() {
        physics.setVelocityY(SPEED);
        if (texture.getAnimationChannel() != upDown) {
            texture.loopAnimationChannel(upDown);
        }
    }
By default, the PhysicsComponent will be injected into the PlayerComponent, so it will be
available to us there. You can turn this feature off by overriding a method in Component
if you want to improve the speed of entity creation.
The refactoring will make the initInput method look better again.
    @Override
    protected void initInput() {
        FXGL.onKey(KeyCode.A, "Move Left", () -> getPlayer().getComponent(PlayerComponent.class).left());
        FXGL.onKey(KeyCode.D, "Move Right", () -> getPlayer().getComponent(PlayerComponent.class).right());
        FXGL.onKey(KeyCode.W, "Move Up", () -> getPlayer().getComponent(PlayerComponent.class).up());
        FXGL.onKey(KeyCode.S, "Move Down", () -> getPlayer().getComponent(PlayerComponent.class).down());
    }
In the next chapter we will add an enemy with simple AI.